Skip to content
There’s a moment when a flea market lamp, a midcentury sofa, and an ornate mirror all whisper “keep me” — and your living room starts to look like a thrift store exploded. Mixing vintage can feel intoxicating and terrifying at the same time. The trick isn’t buying less; it’s arranging smarter. This guide on mixing vintage gives you six exact rules to make those pieces sing together, plus practical steps you can test this weekend.
Read fast: think scale first, pick a unifying color story, choose one real focal point, edit ruthlessly, anchor with modern pieces, and layer textures last. Below are seven clear, usable sections to get you there.
1) Start with Scale — The Mistake That Ruins More Rooms Than Bad Taste
Scale dictates whether a vintage piece feels intentional or misplaced. An oversized 1970s armoire next to a sleek two-seater will dominate the room and make the rest look like accessories. Measure first: ceiling height, sofa depth, and the visual “weight” of large items. Place the biggest item you love down first, then work outward.
- Small rooms: prefer lower-profile vintage (low-back sofas, bench coffee tables).
- Large rooms: you can use tall cases or layered seating groups.
- Pro tip: tape the footprint of a vintage piece on the floor before you buy it.
2) Use a Shared Color Thread — The Secret That Makes Chaos Read as Curated
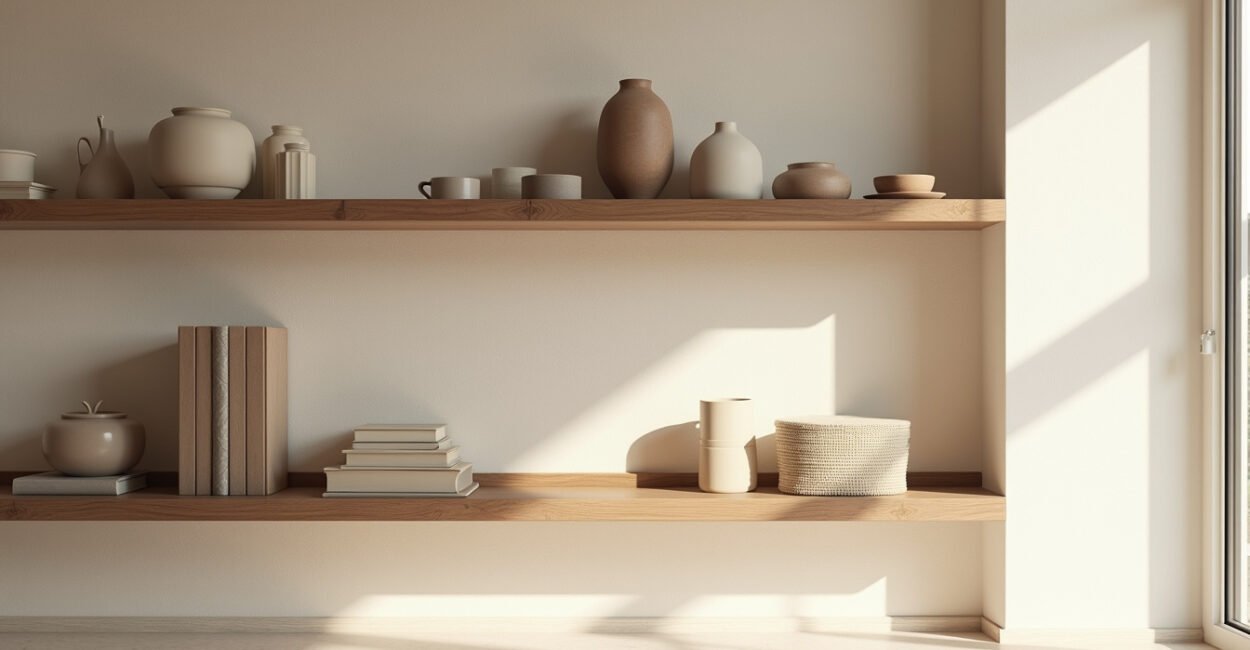
If your pieces don’t share at least one color family, the eye has to work too hard. That doesn’t mean everything must match—far from it. Pull one or two recurring hues from a rug or artwork and echo them in cushions, throws, or a lampshade. A faded teal on a vintage armchair can be repeated in a modern pillow and a ceramic vase to create visual ties.
According to color psychology studies, rooms with a consistent palette feel more restful; the brain rewards repetition. For inspiration, look at museum galleries where antiques are grouped by tone to enhance rather than fight each other.

3) Choose One Focal Point — Resist the “look at Me” Competition
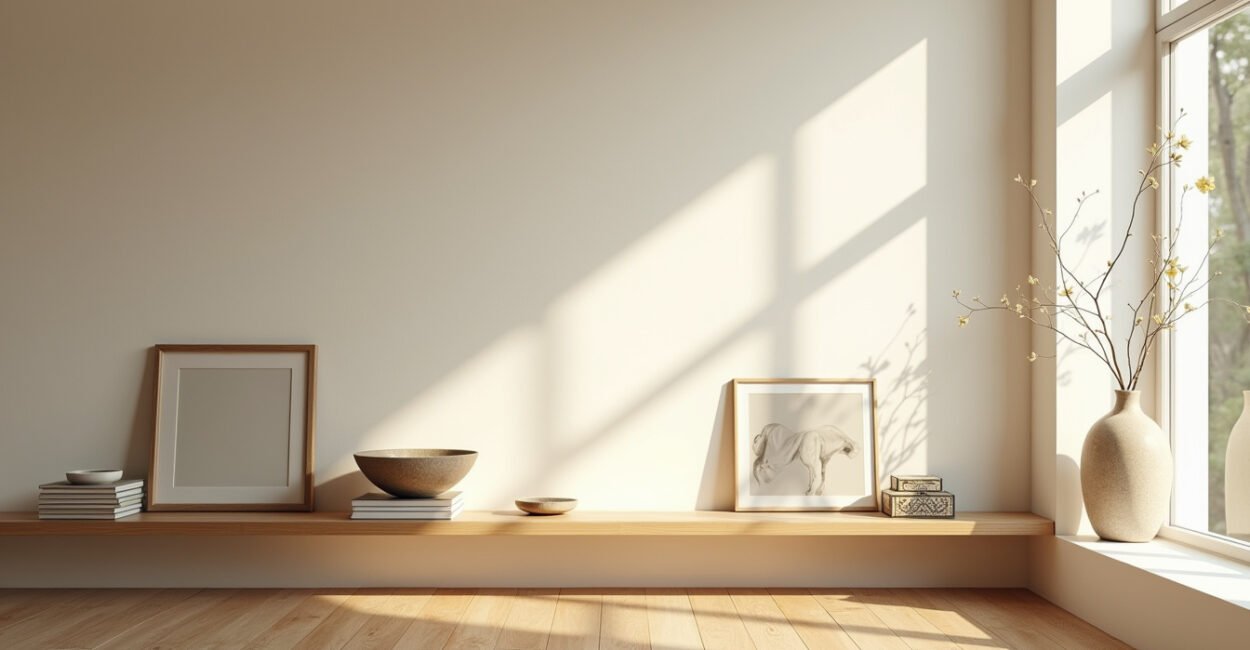
Every room needs a single visual anchor. It could be a fireplace with a vintage mirror, a statement sofa, or a gallery wall made of collected frames. Once you choose that anchor, everything else supports it rather than competes. If your anchor is busy (ornate mirror, patterned sofa), keep surrounding pieces simpler and calmer.
- Anchor types: architectural detail, large furniture piece, standout artwork.
- If two items fight for attention, move one to another room or let it become a subtle supporting prop.
4) Edit Like a Curator — What to Avoid When Mixing Vintage
Clutter kills cohesion faster than a mismatched era. The most common errors: too many small objects on display, repeating the same style in multiple spots, and ignoring negative space. Avoid these specific mistakes:
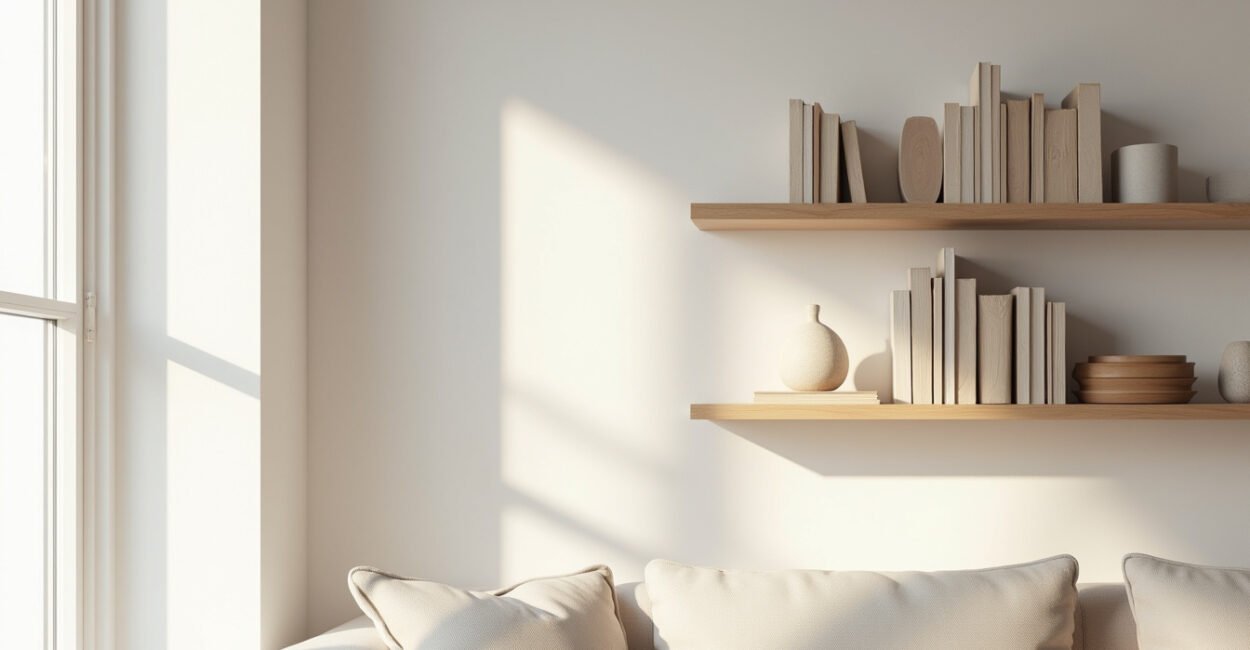
- Filling every surface with collectibles — leave breathing room.
- Using all ornate pieces without a modern counterpoint — the room becomes heavy.
- Mixing too many dominant colors — cap yourself at three main tones.
A quick weekend edit: remove half the objects on horizontal surfaces and stand back. If the room breathes, you kept the right things.

5) Anchor Vintage with Modern Pieces — Why a Modern Rug or Lamp Saves the Room
Mixing vintage is not about being “authentic” to one era; it’s about balance. Modern elements act like punctuation: they rest the eye and emphasize the vintage. A contemporary rug grounds an antique coffee table; a sleek floor lamp gives vintage seating useful context. This contrast prevents a room from reading like a period set and keeps it feeling current.
For practical shopping, prioritize one modern anchor (rug, lamp, or sofa) and let vintage play supporting roles this weekend.
6) Layer Textures Last — The Difference Between Thrown-together and Thoughtfully Layered
Texture unifies pieces that might otherwise clash. Think of texture as visual glue: nubby wool, smooth leather, terrazzo, brass patina. When you place a glossy midcentury table next to a rough-hewn wooden trunk, add a soft throw or woven basket to bridge them. Layer from largest texture (rug) to smallest (cushion fabrics) and vary tactile sensations so the room feels rich, not chaotic.
7) Practical Weekend Plan — Six Rules Into Three Simple Actions
Turn these rules into action in one afternoon with a three-step plan: measure and choose scale, pick your color thread and focal point, then edit. Here’s a checklist you can follow quickly:
- Measure largest piece and tape footprint.
- Pick one recurring color and one anchor item.
- Remove half the small objects; add one modern anchor and one textured layer.
Do this, and your vintage finds will feel like a single, confident collection instead of a pile of lonely treasures.
Comparison you can see: before—lots of competing small things and no anchor; after—one focal point, repeating color accents, and negative space that lets each piece breathe. That’s the difference between a room that looks curated and one that looks cluttered.
For design principles and historical sourcing, museums and universities are great references; for practical styling and color theory, design schools and reputable publications provide useful guidance. For example, museum curation practices often inform how color and scale affect perception. According to resources at The Met and educational materials from design programs like Rhode Island School of Design, repetition and hierarchy are foundational to visual cohesion.
One final nudge: keep a “maybe” box for 30 days. If a piece still makes your heart race after a month of living with it, keep it. If not, pass it on. That’s how collections become homes.
Can I Mix Pieces from Wildly Different Eras Without It Looking Chaotic?
Yes—if you control scale, color, and focal priority. Start by ensuring one dominant piece defines the room’s visual weight. Then repeat a color or material (a brass accent, a blue tone) across items to create continuity. Use modern elements to ground ornate or heavy vintage items. Avoid crowding by editing surfaces and leaving negative space. Over time, your eye will spot which era pieces enhance each other and which ones need to be relocated or retired.
How Do I Choose a Color Thread When My Vintage Pieces Are All Different?
Look for a subtle recurring tone—an undertone in upholstery, a glaze in ceramics, or a hue in a rug. Even worn colors have undertones (warm vs. cool) that you can amplify with textiles and accessories. If nothing obvious appears, introduce a unifying neutral (warm beige, soft gray) and add two accent colors to repeat around the room. The goal is connection: not matching everything, but giving the eye a predictable path through the space.
What’s the Easiest Way to Find a Focal Point When Nothing Stands Out?
Create one: move a favorite piece into a prominent position, hang an oversized artwork, or style a mantel with a large mirror. Focal points can be architectural (a fireplace), furniture-based (a statement sofa), or decorative (a large-scale art or mirror). Once established, tint or accent nearby objects to support it rather than compete. A single bright rug or a bold lamp can also do the job if no original anchor exists.
How Much Modern Should I Add to Balance Vintage? Is There a Rule?
There’s no strict ratio, but a practical guideline is to pick one or two modern anchors for every room—think rug, lamp, or console—and let vintage be the stars. Modern pieces act as visual breathing space and keep the room from feeling like a museum. If your vintage collection is heavy or ornate, add more modern minimalism; if vintage items are small and sparse, fewer modern items are needed. Always prioritize balance and negative space.
How Do I Make a Quick Edit Without Feeling Guilty About Selling or Donating Pieces?
Turn editing into a short experiment: place questionable items in a “maybe” box for 30 days. If you miss them, bring them back; if not, let them go. Photograph the room before and after edits—that helps assess impact objectively. Think of editing as curating rather than rejecting; you’re creating a room that shows your best pieces. Donated items often find new homes and joy quickly, and selling can fund the next thoughtful find.