Skip to content
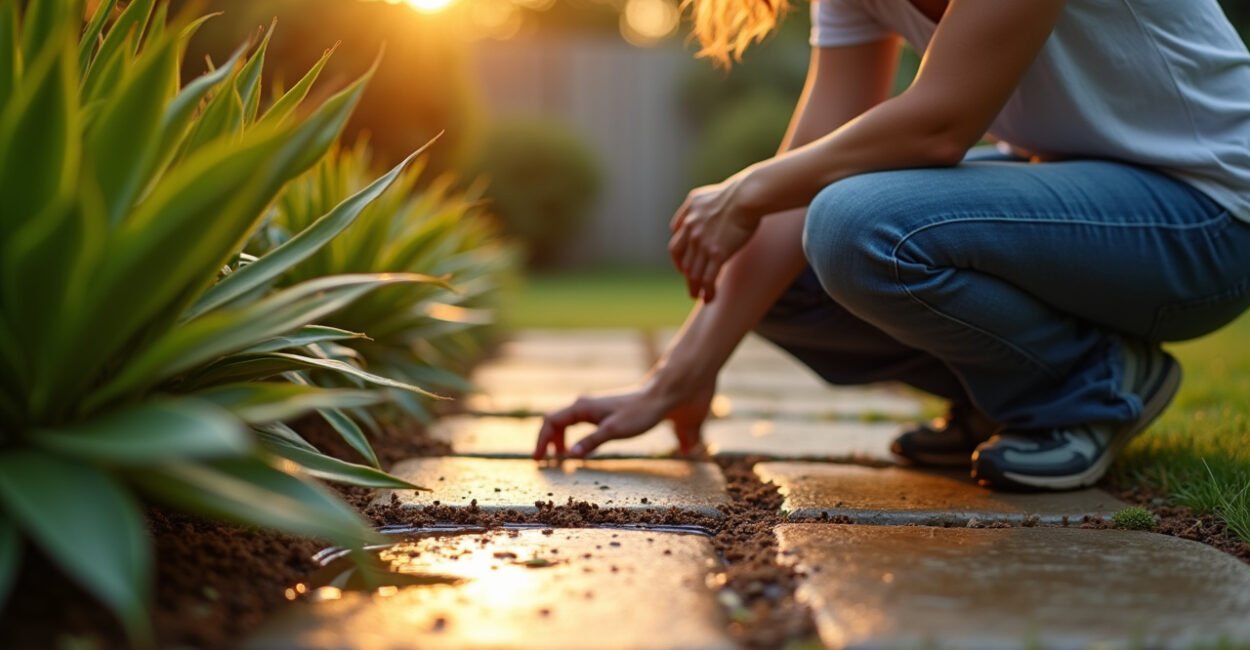
Water pooling on a balcony after a storm used to be a nuisance; now it can be the start of a tiny garden that pays you back. Whether you have a postage-stamp patio, a sunny balcony, or a small urban plot, rainwater harvesting can cut your mains water use quickly—and often for less than the price of a dinner out.
Below are six compact, budget-friendly systems that actually work, clear installation tips, rough costs, and the mistakes everyone makes the first time.
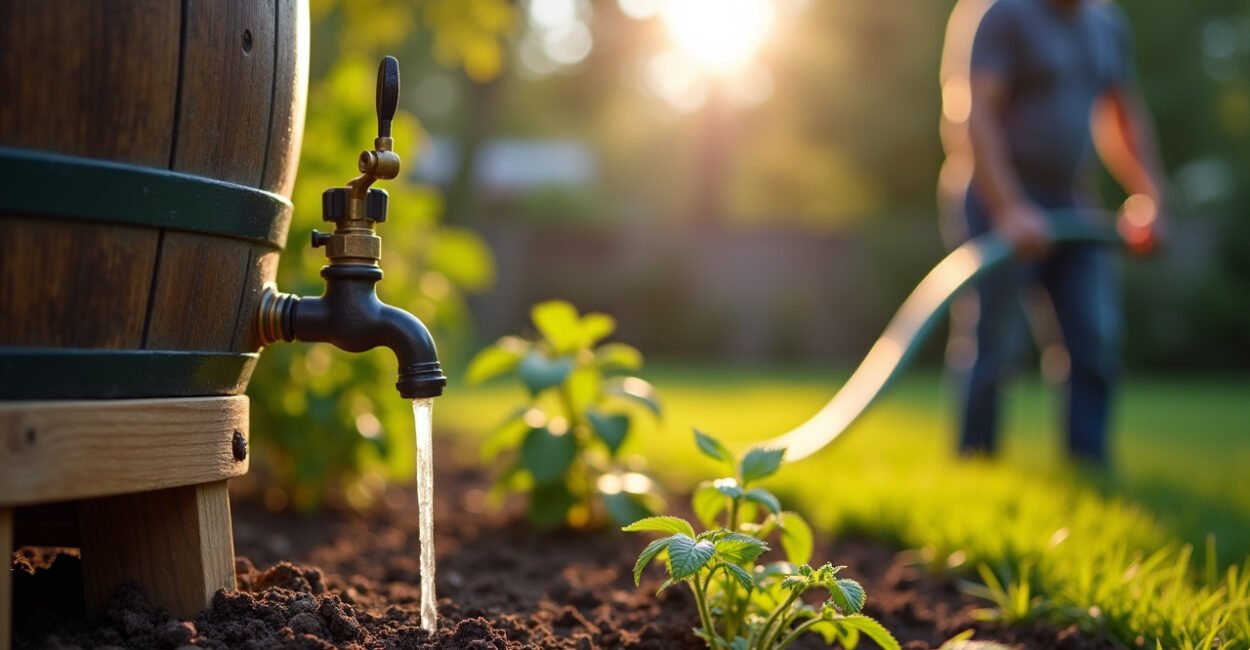
1. The Classic Barrel: Big Impact, Tiny Footprint
One 50–200 liter barrel at a downspout is the fastest way to start harvesting rainwater. Fit it under a gutter outlet or use a simple diverter to channel roof run-off. A barrel with a tap and mesh lid serves watering cans or a drip reservoir for container plants.
- Estimated cost: $40–$120 (used barrels and basic fittings lower cost)
- Quick install: position on a level stand, connect diverter, add overflow hose
- Best for: patios and small backyards with a roof or awning
2. Collapsible Bladders: Store a Surprising Amount in Small Spaces
Collapsible tanks (bladders) pack away when empty and expand to hold 100–1,000 liters. They’re stealthy for balconies and useful where permanent tanks aren’t allowed. They let you store a week or more of watering for a small veg patch.
- Estimated cost: $60–$300 depending on capacity
- Quick install: place on flat surface, route a hose from gutter/diverter, secure with straps
- Best for: balconies, seasonal gardeners who want off-season storage

3. Planter Tanks: Two Functions, One Container
Combine irrigation with planting by using tanks that double as raised planters or sub-irrigated planters (self-watering pots). The water sits below the root zone and wicks up as needed—so you water less and plants stress less. Expectation: weekly watering chores; Reality: fortnightly or monthly in mild climates.
- Estimated cost: $30–$150 for DIY or ready-made units
- Quick install: line the base with gravel, fit reservoir, add potting mix
- Best for: balconies and small plots where aesthetics matter
4. Gutter Diverter + Inline Filter: Clean Water Without Breaking the Bank
Most people skip filtration and regret it when gutters clog tanks. A cheap diverter and inline mesh filter will save hours of cleaning and protect pumps. It’s the hygiene upgrade that keeps your system low-maintenance.
- Estimated cost: $25–$80
- Quick install: cut a small section of downpipe, insert diverter, attach filter
- Best for: any small system feeding plants or small irrigation lines

5. Gravity-Fed Mini-Reservoir with Dripline: Set-and-forget Irrigation
A small elevated tank feeding a dripline gives consistent, slow watering—gold for container gardens. No electricity, no pumps, just physics. Place a 100–200 L tank on a sturdy stand and run 4–10 mm drip tubing to pots and beds. This setup can halve your mains watering overnight.
- Estimated cost: $80–$250 (stand, tank, tubing)
- Quick install: level stand, secure tank, lay out dripline with emitters
- Best for: vegetable boxes and longer planters
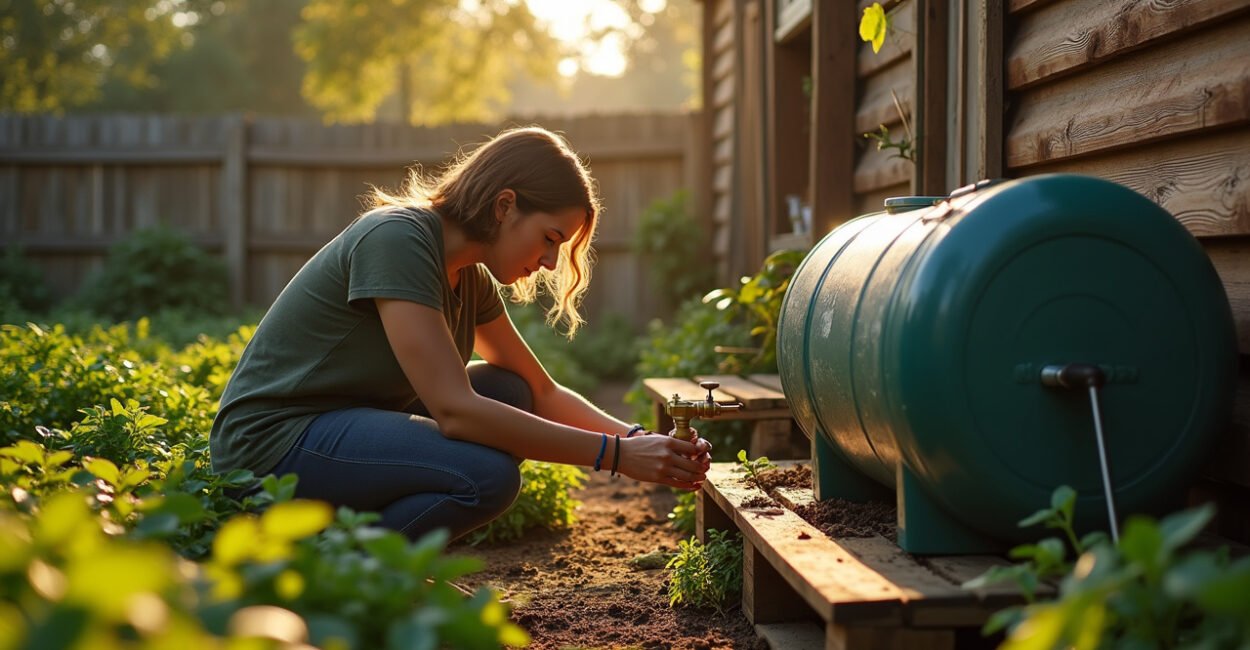
6. Rooftop Micro-Cistern + Pump: When You Need Pressure in a Tight Space
If you want to run a sprinkler or a hose with decent pressure, a small cistern plus a compact pump changes the game. It’s slightly more complex but still affordable if you buy a basic submersible pump. Good for people who want flexibility—hose, spray, or timed irrigation—from harvested rain.
- Estimated cost: $150–$500 (tank + pump)
- Quick install: place cistern on stable surface, connect diverter and pump, wire to garden timer
- Best for: small plots where pressure matters
What People Get Wrong: Common Mistakes to Avoid
Most failures aren’t about technology—they’re about expectations and placement. People buy a huge tank for visual impact but forget that most roofs in cities capture only a few hundred liters a year. Other common errors:
- Placing tanks in shade where algae thrive; always use a covered or opaque container.
- Skipping first-flush diverters—this sends roof grime straight into your tank.
- Underestimating overflow routing—water must go somewhere during heavy storms.
A Simple Before/after Comparison That Will Change How You Plan
Before: a weekly carry of 10 liters from the tap to pots, plants wilt every dry spell, water bill rises. After: a 200 L barrel under the downspout, gravity dripline, one small pump for a spray—plants stay healthy, mains use drops by 40–60% in summer, and watering time shrinks. That kind of measurable change is why even tiny systems pay for themselves quickly.
Installation Checklist and Quick Wins to Cut Mains Water Fast
Start simple, get results, then scale. Follow this checklist to go from idea to running system in an afternoon:
- Pick a catchment (roof, awning).
- Choose a tank sized to your needs—remember: more capacity beats constant maintenance.
- Add a mesh lid and first-flush or diverter to keep water clean.
- Use gravity wherever possible; add a small pump only if you need pressure.
- Route overflow to a soakaway, permeable bed, or neighbor-approved area.
For technical guidance and local regulations, consult reliable resources such as EPA’s stormwater guidance and university extension notes like the Penn State extension on rainwater harvesting.
Mini-story: A friend turned her 3m x 1.5m balcony into a summer salad machine with a 150 L bladder, a gravity-fed dripline, and a schedule: fill on rain days, water twice weekly. She cut her lettuce bills and stopped lugging cans down six flights. Small choices, steady results.
Ready to stop watching rain disappear into the gutter? Pick one system above, buy the parts on a weekend, and you’ll notice the first saving—both in water and in the delight of seeing plants perk up—within days.
How Much Roof Area Do I Need to Justify a Small Tank?
Estimating capture is simple: one square meter of roof yields roughly 1 liter of water per millimeter of rain. If your area gets 50 mm in a storm, a 10 m² roof will deliver about 500 liters that event. For tiny systems, even a 5–10 m² catchment provides useful water over a season; combine that with a 100–200 L tank and you can supply containers for days. Consider local rainfall patterns and prioritize first-flush and filtration to protect stored water quality.
Can I Use Harvested Rainwater for Edible Plants Safely?
Yes—rainwater is generally excellent for edibles because it’s soft and low in salts, but basic precautions matter. Keep tanks covered and opaque to avoid algae, install a mesh leaf filter at the inlet, and use a first-flush diverter to remove rooftop dirt. For root crops and leafy greens, harvested rain is fine; for irrigation near harvest, use drip or soil-level watering to minimize splash. If you plan to store long-term, occasional tank cleaning and simple filtration are recommended for safety.
Do I Need a Pump, or is Gravity Enough for Most Small Gardens?
Gravity is often enough: a tank elevated 0.5–1 meter produces useful pressure for driplines and small emitters. Gravity systems are cheaper, quieter, and lower maintenance. Choose a pump only if you need hose-level pressure, sprinklers, or long runs. Small submersible pumps are affordable, but account for electricity and the need for filters to protect the pump. For many patios and balconies, an elevated barrel plus dripline is the sweet spot of cost, reliability, and simplicity.
What Maintenance Should I Expect with a Small Rainwater System?
Maintenance is modest if you design for it: check screens after storms, empty and clean tanks annually or as needed, and inspect downpipes and diverters for leaves. Expect 10–30 minutes monthly in active seasons and a longer clean once a year. If you have a pump, also check inlet filters and test the pump before peak season. With basic upkeep, systems run trouble-free for years; neglect is the real cause of failures, not complexity.
Will Harvesting Rainwater Really Reduce My Water Bill Significantly?
Yes—especially for outdoor use. For many small gardens, a 100–200 L system supplying drip irrigation and hand-watering can cut outdoor mains use by 40–60% during watering months. Savings depend on your local water price, garden size, and rainfall. Combine harvest with drought-tolerant plants, mulching, and timed irrigation and you’ll amplify savings. The upfront cost is modest, and payback can be a single season in regions with frequent summer showers.