Skip to content
Installing a smart thermostat in a rental apartment sounds like a small upgrade, but it can change how a place feels day to day. The catch is that rental rules, older wiring, and “don’t damage the walls” constraints make smart thermostat installation in rental apartments a different job from a typical homeowner project.
The good news: in many apartments, the right thermostat can be installed cleanly, removed later, and taken with you when you move. What matters most is checking compatibility first, getting permission in writing when needed, and choosing a model that matches the building’s wiring and your landlord’s expectations.
What You Need to Know
- A smart thermostat is only a safe rental upgrade when the HVAC system, wiring, and landlord rules all line up.
- Most problems come from missing a C-wire, misreading low-voltage versus line-voltage systems, or drilling when a no-drill option would have worked.
- If you want a clean exit later, save the original thermostat, label the wires before disconnecting them, and avoid permanent wall damage.
- In older apartments, the best solution is often a model that works with adapters, covers existing holes, or supports easy restoration on move-out.
Smart Thermostat Installation in Rental Apartments: Wiring, Permissions, and Damage-Free Planning
A smart thermostat is a network-connected control device that regulates heating and cooling by using sensors, schedules, app-based commands, and sometimes learning algorithms. In plain English: it lets you manage comfort from your phone and automate temperature changes without touching the dial every time.
In rentals, the real project is not the thermostat itself. It is proving that the unit is compatible, the installation is reversible, and the apartment can be restored to its original condition without a fight at move-out.
Why Rentals Need a Different Checklist
Landlords usually care about three things: system safety, wall condition, and whether the original setup can be put back exactly as it was. That means your first job is to identify the HVAC type, not shop for gadgets. A forced-air system with low-voltage controls is a very different case from electric baseboard heat, which often needs a line-voltage thermostat and a different device class altogether.
The Permission Question is Not Optional
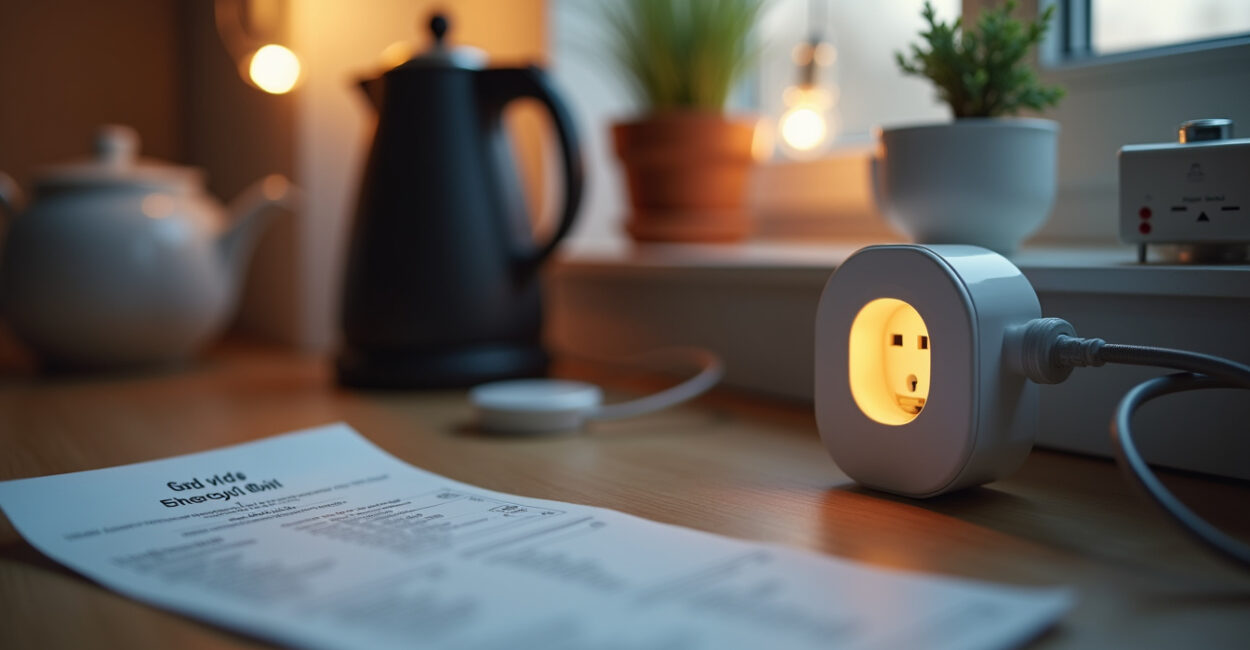
Many leases allow small improvements only with written approval, especially when the work touches wiring. Before opening anything, check the lease, ask for a simple written yes, and keep a photo of the existing thermostat and wall plate. That paper trail matters more than most people think if there is a deposit dispute later.
For a neutral overview of tenant repair rights and lease obligations, the Federal Trade Commission is a good starting point, and local housing rules can add more specific requirements. For building and energy guidance, the U.S. Department of Energy’s Energy Saver pages are useful for understanding thermostat behavior and HVAC basics.
In a rental, the best smart thermostat is the one you can install cleanly, remove cleanly, and explain clearly to the landlord.
How to Check Compatibility Before You Buy
This is where people save themselves time and returns. Not every apartment can use every smart thermostat, and the wrong assumption can leave you with a dead device, a tripped system, or a hole in the wall that now belongs to the lease violation gods.
Start with the System Type
Look at what the apartment actually uses. Most smart thermostats are built for low-voltage HVAC systems, usually 24V, such as central air, furnaces, and heat pumps. If your apartment uses electric baseboard heat, radiant heat, or a high-voltage wall unit, you may need a line-voltage thermostat instead, and many popular smart models will not fit that setup.
Check for a C-wire and the Wiring Photo
The C-wire, or common wire, provides continuous power to many smart thermostats. Some models can run without one by using a power adapter or internal battery strategy, but that is not universal. Before buying, remove the old thermostat cover, photograph every wire terminal, and confirm the labels against the manufacturer’s compatibility guide. Nest and ecobee both provide compatibility tools that are worth using before you order.
| What to Check | Why It Matters | Common Mistake |
|---|---|---|
| Low-voltage vs. line-voltage | Determines which thermostat category is safe | Buying a model for the wrong heating system |
| C-wire presence | Helps the thermostat stay powered | Assuming every smart thermostat works wire-free |
| HVAC type | Controls compatibility with heat pumps, furnaces, and AC | Ignoring apartment-specific equipment |
| Wall plate size | Affects whether old holes are covered | Leaving visible damage behind |
Energy.gov’s thermostat guidance is also useful if you want to understand why different systems respond differently to scheduling and setpoint changes.
Compatibility is the real installation step; the screwdriver part usually takes less time than the decision part.

Which Thermostat Features Make Sense for Renters
Renters should optimize for reversibility, not feature overload. A long feature list looks impressive in a product box, but half of it may never matter if your lease is short or your HVAC system is basic.
Features Worth Paying For
- Easy scheduling: Useful if your routines are stable and you want automatic temperature changes while you are away.
- Remote control: Handy for arriving home late, managing a pet, or adjusting temperature without walking to the wall unit.
- Compatibility alerts: Helps you avoid buying the wrong device for a heat pump or multi-stage system.
- Wall-plate coverage: Reduces visible marks when replacing an older thermostat with a smaller footprint.
Features You Can Skip
Room sensors, energy reports, and learning modes can be useful, but they are not the first thing to pay for in a rental. If the apartment is small and the HVAC is straightforward, those extras often add more setup complexity than value. The same goes for advanced automation if you are moving in six months.
The National Institute of Standards and Technology is a solid source for understanding how connected devices handle data and security. That matters because a thermostat is not just a comfort tool anymore; it is also a networked device sitting on your home Wi‑Fi.
A Damage-Free Installation Plan That Actually Works
The cleanest installations follow a simple sequence: document, disconnect, mount, test, and restore. In practice, the mistakes happen when people skip the first two steps and rush into the wall.
Before You Touch the Wires
- Take a clear photo of the existing thermostat and every wire connection.
- Turn off power at the breaker, not just at the thermostat.
- Label wires before removing them.
- Keep all screws, faceplates, and the old thermostat in a bag.
How to Avoid Wall Damage
If the new thermostat does not match the old footprint, use the manufacturer’s wall plate or trim plate to cover existing holes. Adhesive solutions can help in limited cases, but they are not universal; some thermostats still need screws for a secure mount. If you are in a strict no-drill rental, choose a model or adapter approach that lets you reuse the existing electrical box or wall plate rather than inventing a new anchor point.
Mini-story: I once saw a tenant install a sleek thermostat in a studio apartment and ignore the old screw holes. The device worked fine, but the move-out inspection became a wall discussion instead of a thermostat discussion. A ten-dollar trim plate would have ended that conversation before it started.
Test Before You Celebrate
After powering the system back on, run the heat and cooling cycles one at a time. Watch for short cycling, delayed response, or error messages. If the thermostat supports app pairing, connect it only after the HVAC behaves normally from the wall controls. That order makes troubleshooting much easier.
A clean rental installation is less about technical skill than about leaving zero evidence the apartment ever needed the upgrade.
Landlord Approval, Lease Clauses, and Move-Out Protection
Lease language varies, but the pattern is familiar: tenants can usually make minor improvements only when they do not alter the property or create liability. A thermostat swap sits right on that edge, so written approval is the safest move.
What to Ask for in Writing
- Permission to replace the existing thermostat with a compatible smart model.
- Permission to restore the original unit at move-out.
- Confirmation that no extra damage will be charged if the wall is returned to its original condition.
Protect Your Deposit from Day One
Keep before-and-after photos, save the original screws, and store the factory thermostat in its box if possible. If your apartment requires landlord-approved contractors for electrical work, do not assume a DIY swap is allowed. Some buildings treat anything involving thermostat wiring as maintenance-only work.
There is also a gray area here, and that is worth saying out loud: the safer the apartment’s existing wiring is, the more feasible the project becomes. But older buildings, shared HVAC systems, or questionable electrical boxes can make the same upgrade a bad idea. In those cases, the correct answer is often “don’t install it yet,” not “force it to work.”
Troubleshooting the Problems Renters Hit Most Often
Most complaints fall into a small set of patterns. If you know those patterns early, you can fix them before they become a landlord call or a return label.
Common Issues and What They Usually Mean
- No power: Often points to a missing C-wire, loose terminal, or breaker issue.
- Short cycling: The thermostat may be incompatible with the HVAC system or wired incorrectly.
- App connection failures: Usually a Wi‑Fi band issue, weak signal, or pairing mistake.
- Uneven room temperature: The thermostat may be in a poor location, such as direct sun or near a vent.
When to Stop and Verify
If the system starts acting strangely after installation, stop and compare the wiring to your original photo. Do not keep guessing. A wrong jumper or misplaced wire can be harmless in one setup and a real problem in another. If the thermostat manufacturer has a compatibility tool or phone support line, use it before you start undoing random terminals.
Who works in HVAC knows this: most “broken thermostat” reports are actually wiring or system-match issues. The device gets blamed because it is the visible part. The cause is often hidden behind the wall plate.
What to Do Before You Move Out
The last step matters because rentals are judged on restoration as much as installation. A smart thermostat only makes sense if the apartment can be returned to its original state without drama.
Move-out Checklist
- Reinstall the original thermostat or the landlord-approved device.
- Patch only the holes you created, if any.
- Return the wall to a neutral, clean finish.
- Remove your app account and unlink the thermostat from Wi‑Fi.
If the thermostat has home automation ties to a broader platform, such as Google Home, Amazon Alexa, or Apple Home, remove the device from those ecosystems too. That keeps your personal data and routines from lingering on a device you no longer own. The safest move is to think of the thermostat as portable tech, not a permanent fixture.
Practical Next Steps for Renters
The smartest way to approach this upgrade is to treat it like a compatibility project with a comfort bonus, not the other way around. If the wiring fits, the lease allows it, and the removal plan is clean, the upgrade usually pays off in convenience and better temperature control.
Start with a photo of the current setup, read the lease, and run the manufacturer compatibility check before buying anything. Then choose the least invasive model that solves your actual problem. In a rental, restraint is not a compromise; it is the difference between a useful upgrade and an expensive wall repair.
FAQ
Can I Install a Smart Thermostat in a Rental Apartment Without Drilling Holes?
Sometimes, yes. If the thermostat fits the existing electrical box or wall plate, you may be able to reuse the current mounting points and avoid new holes entirely. If the new unit is smaller, a trim plate can cover old screw marks. The key is to match the device to the existing setup instead of forcing a new mounting pattern onto the wall.
Do I Need My Landlord’s Permission to Replace the Thermostat?
In many rentals, yes, especially if the work touches wiring or changes the appearance of the wall. Lease terms vary, but written permission is the safest path because it protects you during move-out discussions. Even if a landlord is casual about small changes, it is still worth documenting approval so everyone agrees on what happens when you leave.
What If My Apartment Uses Electric Baseboard Heat?
That changes the game. Many common smart thermostats are built for low-voltage HVAC systems and will not work with electric baseboard or other line-voltage setups. In that case, you need a thermostat rated for the correct voltage. Installing the wrong type can create safety risks, so checking the system first is non-negotiable.
Is a C-wire Always Required for a Smart Thermostat?
No, but it depends on the model. Some smart thermostats need a C-wire for continuous power, while others use internal batteries or a power adapter. The important part is not guessing based on a product listing. Check the manufacturer’s compatibility guide against your wiring before you buy, because “works without a C-wire” is not true for every model.
How Do I Make Sure I Can Remove It Cleanly When I Move?
Keep the old thermostat, label every wire before removal, and save the screws and faceplate in one bag. Use a trim plate if the new device is smaller than the old one, since that reduces visible wall marks. At move-out, reinstall the original unit, unlink the smart thermostat from apps and Wi‑Fi, and restore the wall so the apartment looks unchanged.