Skip to content
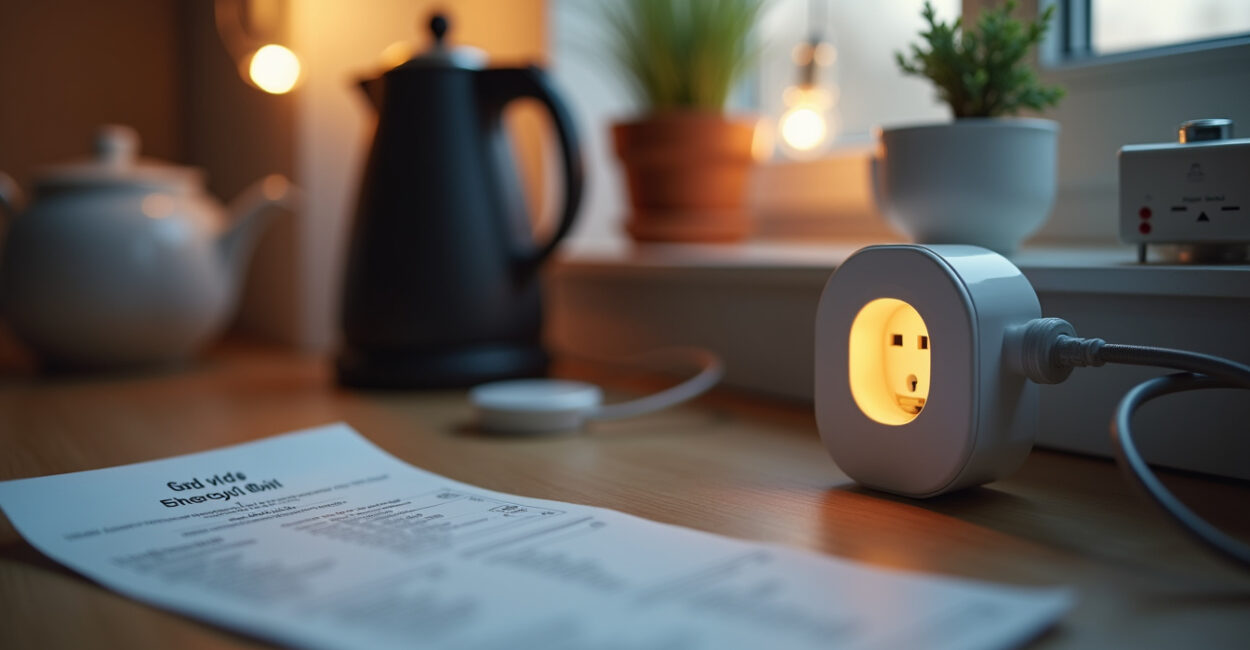
A smart energy monitor can show you, in near real time, which circuits are draining power, what your peak demand looks like, and where standby loads are hiding. That matters because the biggest savings usually come from visibility first, not gadgets first. This smart energy monitor installation guide walks you through the practical setup: what the device does, what tools you need, how to install it safely, and how to avoid the mistakes that cause bad readings later.
The technical definition is straightforward: a smart energy monitor is a sensor system that measures electrical consumption at the whole-home level, the circuit level, or both, then sends those measurements to an app or dashboard. In plain English, it turns your electrical panel into something you can actually understand. If you install it well, you get reliable data you can trust. If you rush the setup, you often get noisy readings, poor Wi‑Fi sync, or a monitor that works only half the time.
What You Need to Know First
- A smart energy monitor is only as accurate as its installation, especially when current transformer clamps are placed on the wrong conductors.
- Most mistakes happen inside the electrical panel, not in the app, which is why safety and panel compatibility matter more than feature lists.
- Whole-home monitors are ideal for tracking total usage, while circuit-level monitors are better when you want to isolate HVAC, water heating, or EV charging.
- Strong Wi‑Fi at the panel is not optional; weak signal is one of the most common reasons data gaps appear after installation.
- If your panel is crowded, older, or uses unusual busbar layouts, the installation may require a licensed electrician instead of a DIY approach.
Smart Energy Monitor Installation Guide for a Safe, Accurate Setup
The core job is to mount the sensors, identify the correct conductors, connect the monitor’s power source, and verify that the app reads the load correctly. A smart energy monitor is usually installed with current transformers, or CT clamps, that wrap around live conductors and measure electrical flow without cutting the wire. Some systems also use a voltage reference lead so they can calculate watts and kilowatt-hours more accurately.
That sounds simple, but the details matter. Clamp orientation, circuit identification, phase matching, and panel wiring all affect the final numbers. If the monitor is installed on the wrong leg in a split-phase home, the readings can look plausible while still being wrong. The device may report power, but it will not be reporting your power.
The difference between a useful energy monitor and a misleading one is not the app — it is whether the sensors are attached to the right conductors and verified under load.
How the Monitor Actually Measures Power
Most home monitors rely on CT sensors that detect magnetic fields around the conductor. The monitor combines that current data with voltage data to estimate power draw. In split-phase systems, usually found in North American homes, the monitor needs to understand both legs of the service so it can calculate total consumption accurately. If the phase orientation is wrong, some devices will show negative power or oddly low totals.
When DIY Makes Sense and When It Does Not
DIY works best when the panel is modern, neatly labeled, and easy to access, and when the manufacturer designed the device for homeowner installation. It breaks down fast when the panel is packed, the service conductors are hard to reach, or the cover must be removed near exposed live parts you are not comfortable around. If any part of the process feels uncertain, stop and bring in a licensed electrician. That is not being cautious for the sake of it; it is the difference between a clean install and a costly mistake.
Tools, Materials, and Safety Checks Before You Open the Panel
Before touching the panel, gather the right tools and confirm the device matches your electrical service. The usual kit includes a non-contact voltage tester, insulated screwdriver set, flashlight or headlamp, phone or tablet for setup, label maker or masking tape for temporary circuit tags, and the monitor itself with its CT clamps and power adapter. Some brands also include adhesive mounts and ferrite clips for cable management.
For safety, the first check is panel compatibility. You need to know whether your home uses a split-phase 120/240V panel, whether there is enough physical space for the sensors, and whether the monitor supports your breaker style. The U.S. Department of Energy has practical guidance on home energy management, and the NFPA is a good reference for electrical safety principles. If the panel cover must be removed, treat every conductor as live until you verify otherwise.
Tools Worth Having on the Table
- Insulated screwdriver for panel cover removal.
- Non-contact voltage tester for quick verification.
- Wire labels or painter’s tape for temporary circuit mapping.
- Phone with the manufacturer app already installed.
- Strong Wi‑Fi access point or extender if the panel is in a utility room or garage.
A clean install starts before the panel opens: if you do not verify compatibility, Wi‑Fi strength, and panel space first, you are setting up a troubleshooting session instead of a monitoring system.

Where to Mount the Monitor and How to Read Your Panel
Placement is not cosmetic. The monitor needs enough room for the CT clamps to sit on the correct conductors without being bent, pinched, or forced against the panel cover. Most manufacturers recommend mounting the main unit near the electrical panel, but not inside the live section unless the model is rated for that use. The communication antenna or Wi‑Fi radio should also have a realistic path to your router or mesh node.
Reading the panel matters even more than drilling the mount. You should identify the main breaker, branch circuits, and service conductors before installing anything. In a typical split-phase panel, the two hot legs alternate down the breaker rows, so pairing and phase orientation have to be checked carefully. If your panel labeling is weak, trace the circuits one by one instead of guessing. Guessing is where bad data starts.
Panel Types That Change the Procedure
Standard residential load centers are the easiest case. Federal Pacific, Zinsco, and other older panel families deserve extra caution because of age, layout quirks, and safety concerns. Some smart meters and submetering systems also work better in service entrances or at dedicated subpanels, especially if you want to isolate one major load such as an EV charger or heat pump. That is a different use case than whole-home monitoring, and the setup logic changes with it.
A Real-World Example from the Field
A homeowner once mounted a monitor perfectly, paired it in the app, and still got nonsense readings. The problem was not the device. One CT clamp was on the wrong leg, and the other had been installed upside down. The app showed power, but the home’s evening load looked half of what it should have been. After correcting the clamp orientation and rechecking the breaker map, the readings lined up with the utility bill within a normal margin of error. That kind of mistake is common, and it is fixable.
Step-by-Step Installation in the Electrical Panel
Turn off power only if the manufacturer and panel configuration require it, and follow the product instructions exactly. Many monitors are designed for installation with the main breaker off but the service still present, which is why this step deserves caution. If you are not qualified to work inside a live panel, stop here and hire an electrician. That is the honest answer, not a disclaimer. The risk is not theoretical.
- Confirm the breaker map and identify the two service legs.
- Position the CT clamps around the correct main conductors or target circuits.
- Match the arrow or orientation marking on each clamp to the manufacturer’s direction.
- Secure the monitor body outside the cramped conductors so the cover can close cleanly.
- Connect the voltage reference or power leads exactly as specified by the brand.
- Replace the panel cover carefully, making sure no cable is pinched.
- Restore power and watch for indicator lights or app pairing status.
The most important step is verification under load. Turn on a known appliance, such as a kettle, microwave, or dryer, and watch whether the monitor responds immediately and in the expected direction. If the power rises when the appliance starts, then the system is reading live behavior, not just storing random values. If it does not, revisit clamp orientation and phase assignment before trusting the data.
What to Double-Check Before Closing the Panel
- All CT clamps are fully closed and not sitting on insulation only.
- No low-voltage cables are touching hot busbars or sharp edges.
- The panel cover closes without forcing the monitor hardware.
- Wi‑Fi or Bluetooth pairing lights are active before you leave the area.
App Setup, Calibration, and Data Verification
Once the hardware is in place, the app setup turns raw measurements into useful home data. Create the account, connect the monitor to your home network, and assign the device to the correct room, panel, or home profile. Many brands ask for utility rate details, which lets the app estimate costs rather than just watts and kilowatt-hours. That feature is useful, but it only helps if your tariff structure is entered correctly.
Calibration is where a lot of people get impatient. The monitor may already be close, but you should compare its total reading against a known load or your utility’s usage data over several days. Short-term comparison helps catch wiring mistakes; long-term comparison helps reveal whether the device consistently drifts. For deeper context on home energy efficiency and monitoring behavior, the National Institute of Standards and Technology offers useful measurement and smart-home references.
What Good Data Looks Like
Good data is boring in the best way. Baseline usage should be steady overnight, major appliances should create obvious spikes, and the total should move in a way that matches real life. If the app shows constant jumps when nothing is running, look for loose clamps, poor signal, or incorrect phase pairing. If the system supports circuit-level views, verify one branch circuit at a time so you know the numbers are tied to the right loads.
Common Setup Mistakes That Ruin Accuracy
Most bad installs fail for the same few reasons, and every one of them is preventable. The first is clamp orientation. The second is assuming breaker labels are correct when they are not. The third is weak Wi‑Fi at the panel, which creates missing data and delayed updates. The fourth is placing the CT around the wrong conductor in a multi-wire or bundled run. The fifth is skipping the verification step because the app “looks connected.”
There is also a subtle issue people miss: not every monitor behaves the same way across every electrical system. Some models handle split-phase residential panels well but struggle in unusual subpanel setups or with solar backfeed if they are not configured correctly. That is where the advice can diverge between brands, so the manual matters more than generic instructions.
A smart monitor that reports numbers instantly is not necessarily accurate; the real test is whether its readings match a known appliance and then stay stable over time.
Quick Troubleshooting Order
- Check clamp direction first.
- Check Wi‑Fi signal strength second.
- Check breaker and conductor identification third.
- Check app configuration and utility rate settings fourth.
- Only then compare against a utility bill or submeter.
How to Keep the Monitor Reliable After Installation
After the setup works, reliability becomes the real win. Keep the app updated, leave the monitor’s firmware on automatic updates if the brand supports it, and recheck the dashboard after any electrical work in the home. Panel changes, new appliances, and solar additions can all affect how the system should be configured. If you add an EV charger or heat pump, re-baseline your usage so you are not comparing old habits to new loads.
One last practical point: monitor data is most useful when it becomes routine. A weekly look at overnight baseload, peak-hour spikes, and unusual run times tells you far more than occasional curiosity. That is where energy savings start to compound. The hardware is the easy part; the habit is what pays off.
What to Do Next with the Data
Once the monitor is stable, use it to find the one or two loads that deserve attention first. In most homes, that means HVAC, water heating, refrigeration, or EV charging. Start with the biggest repeat offenders, not the smallest phantom loads. If the system shows a standby draw that runs all night, investigate it. If it shows an appliance with unusually long cycles, compare that behavior to temperature, weather, and occupancy.
The smartest next step is not buying another device. It is using the one you already installed to make one specific change, then checking whether the pattern improved. That is how monitoring turns into savings instead of just another dashboard.
FAQ
Can I Install a Smart Energy Monitor Myself?
Yes, many homeowners can install one themselves if the monitor is designed for DIY use, the panel is modern, and they are comfortable working around electrical equipment. The safe answer depends on the panel, the monitor type, and local code requirements. If you are unsure about live conductors, cramped spaces, or split-phase wiring, bring in a licensed electrician. Accuracy matters, but safety comes first. A clean installation is worth more than a fast one.
Will the Monitor Work If My Wi‑Fi Signal is Weak Near the Panel?
Sometimes it will connect, but weak Wi‑Fi is a bad setup for long-term reliability. You may see delayed uploads, missing intervals, or app disconnects that look like hardware failure. If the panel sits in a garage, basement, or metal utility cabinet, test the signal before installing the device. A mesh node, access point, or Wi‑Fi extender near the panel can solve the problem. Stable connectivity is part of accurate monitoring, not an optional extra.
How Do I Know If the Clamp Orientation is Correct?
Most monitors mark the clamp direction with an arrow or a “line” side that must face the correct conductor flow. After installation, test a known load like a kettle, toaster, or space heater and watch whether the power reading rises in a realistic way. If the app shows negative power or strangely low values, the clamp may be reversed or paired to the wrong leg. This is one of the most common installation errors, and it is usually easy to fix.
Do Whole-home Monitors and Circuit-level Monitors Install the Same Way?
No, they solve different problems and the installation details differ. Whole-home monitors usually clamp around the service mains and give you a total view of household usage. Circuit-level monitors track specific breakers, so they require more individual sensor placement and a cleaner circuit map. If you want to study HVAC, water heating, or an EV charger, circuit-level detail is better. If you want a broad picture of the house, whole-home monitoring is simpler and usually faster to install.
What Should I Compare the Readings Against After Setup?
Start with a known appliance and your utility bill over time. A hair dryer, kettle, microwave, or heater gives you a quick response test, while the bill helps confirm the long-term pattern. The exact numbers may not match perfectly because utility billing and monitor sampling use different methods, but the trend should be close. If the device is far off, check clamp placement, phase mapping, and app settings before trusting the data. Verification is what turns a gadget into a tool.