Skip to content
A thrifted lamp base, an old wood crate, and a jar that was about to hit recycling can become room-defining decor in an afternoon. That is the real appeal of easy upcycled home decor projects: you get something personal, useful, and low-cost without needing power tools or advanced craft skills. Upcycling means turning an existing item into something with higher design value, not just reusing it as-is.
For beginners, that matters because the best projects are the ones you can finish, use, and actually like living with. This guide focuses on simple materials, forgiving techniques, and projects that work in real homes, not just in styled photos. You’ll also see where upcycling shines, where it falls short, and how to make the result look intentional instead of messy.
O Que Você Precisa Saber
- Upcycling works best when you match the object’s original shape to a new purpose, because the best results require less cutting and fewer repairs.
- Neutral paint, matte finishes, and consistent hardware are the fastest ways to make mixed materials look cohesive.
- Successful beginner projects usually rely on one transformation step, not five; overcomplicating the process is where most people get stuck.
- Some materials, such as coated plastic or warped particleboard, are poor candidates because paint and adhesives do not hold well on unstable surfaces.
- The cheapest upgrades are often the most visible: new pull knobs, sanding, sealant, and better placement can change the whole feel of a room.
Easy Upcycled Home Decor Projects That Work for Beginners
Technically, upcycling is a form of material transformation: you keep the base object, alter its function or finish, and increase its perceived value through design. In plain English, it is the difference between “old stuff” and “old stuff that looks deliberate.” For beginners, the sweet spot is projects that need little more than cleaning, sanding, paint, and a few finishing details.
In practice, the easiest wins come from items with a stable structure. Glass jars, wooden crates, picture frames, tin cans, ceramic containers, and old textiles are all good starting points because they already have a useful shape. A cracked surface, loose joints, or peeling laminate changes the equation fast, so don’t force a project just because the idea sounds cute.
What separates a good upcycled piece from a DIY-looking one is not the age of the object — it is whether the finish looks intentional, consistent, and suited to the room.
Best Beginner-friendly Items to Start With
- Glass jars: easy to clean, easy to paint, and useful as vases, candle holders, or desk organizers.
- Wood crates: strong enough for shelves, baskets, and storage cubes.
- Picture frames: perfect for clip boards, mirrors, chalkboard inserts, or fabric art.
- Tin cans: useful for small planters, utensil holders, and bathroom storage.
If you want one rule that saves time, use this: choose objects with clean geometry. Straight lines and simple curves are easier to upgrade than ornate pieces with damaged trim. That is why a plain crate usually beats a carved cabinet door for your first attempt.
Cleaning, Sanding, and Prep: The Part Most People Skip
Preparation is the difference between a project that lasts and one that chips in two weeks. Dust, grease, and old finish interfere with paint adhesion, especially on wood, metal, and glossy plastic. That is why a ten-minute prep job can save you from repainting the same piece twice.
The Prep Sequence That Usually Works
- Wash the object with mild soap and let it dry fully.
- Remove loose paint, stickers, glue, and rust.
- Sand glossy areas so the new finish can grip.
- Wipe away dust before painting or sealing.
Na prática, what happens is that people rush the prep and then blame the paint. I have seen perfectly good thrift-store finds turn patchy because someone skipped sanding a slick surface or painted over residue from label glue. If the piece will sit in a humid room, such as a bathroom, a primer and sealant matter even more.
For credible material-safety guidance, especially on older painted pieces or wood items with unknown coatings, check the U.S. Environmental Protection Agency’s lead safety guidance and the CDC’s lead prevention resources. That matters most if you are refinishing vintage furniture or anything made before modern coating standards.

Five Simple Projects That Add Style Fast
These are the kinds of projects that give you a real result without demanding a full weekend. The point is not perfection. The point is to make one corner of the room look more finished than it did yesterday.
1. Jar-to-vase Cluster
Group three jars of different heights, wrap one with twine, paint another in matte white, and leave the third clear. Use them for stems, dried grass, or single branches. The mix of finishes creates enough contrast that the set looks designed, not random.
2. Crate-to-wall Shelf
Sand a small crate, stain it lightly, and mount it horizontally as a shallow shelf. It works well in an entryway for keys and mail or in a bathroom for towels and candles. If the wood is soft or cracked, reinforce the inside corners before hanging.
3. Frame-to-memo Board
Remove the glass, back the frame with cork, fabric, or wire mesh, and use it as a note board. This is one of the easiest ways to turn an unused frame into something functional. A black or gold frame usually gives the cleanest finished look.
4. Can-to-planter Set
Wrap tin cans with jute, paint them, or cover them with scrap fabric, then use them for herbs or small succulents. Add drainage holes if the plants need them. Without that step, roots can rot fast.
5. Sweater-to-pillow Cover
Old knitwear makes a strong pillow cover because the texture already feels cozy. Cut and stitch one side, then use a plain insert inside. This is a smart way to reuse fabric that would otherwise sit in a donation pile for months.
A beginner upcycling project succeeds when the new use fits the original form; if you have to fight the object at every step, it is the wrong project.
How to Make Upcycled Decor Look Intentional, Not Homemade
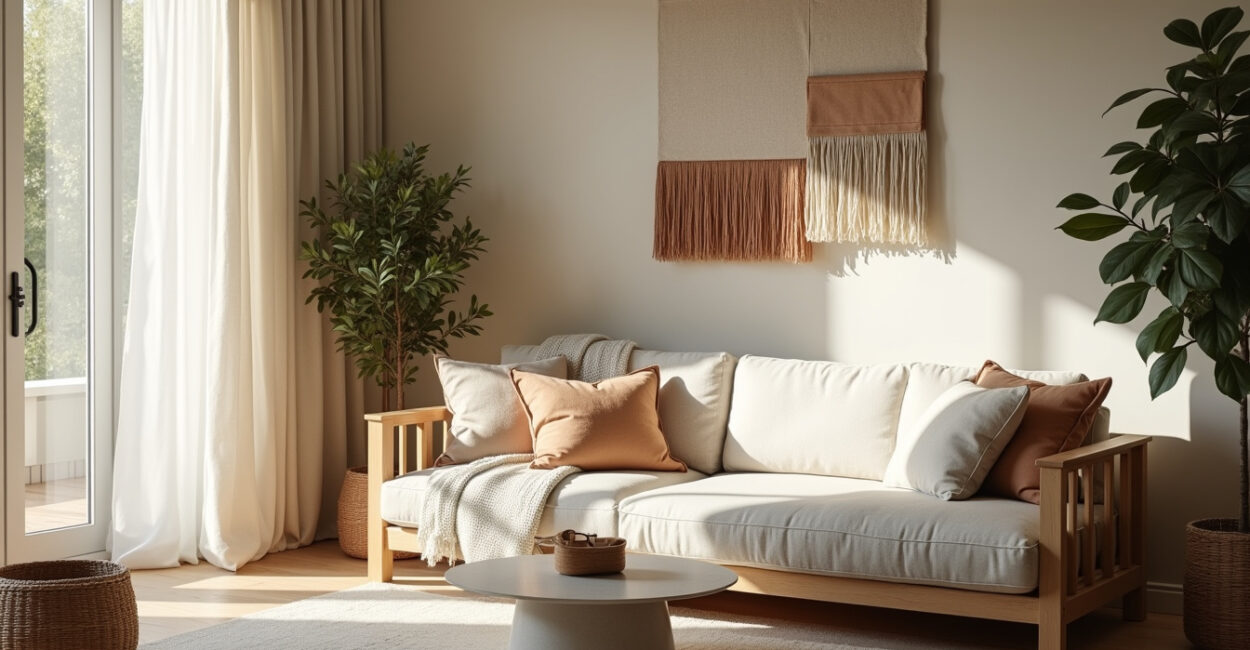
This is where many projects rise or fail. The craft itself may be simple, but the styling determines whether the piece reads as decor or as leftover clutter. Two things matter most: repetition and restraint. Repeating the same color family across several objects makes the room feel planned, and restraint keeps the piece from looking overloaded.
Design Choices That Instantly Help
- Use one dominant finish, such as matte white, black, warm wood, or brushed brass.
- Repeat a material, like jute, cane, linen, or clear glass, in more than one object.
- Choose one visual job for each piece: storage, display, lighting, or texture.
- Leave negative space; a decorated shelf looks better when every inch is not filled.
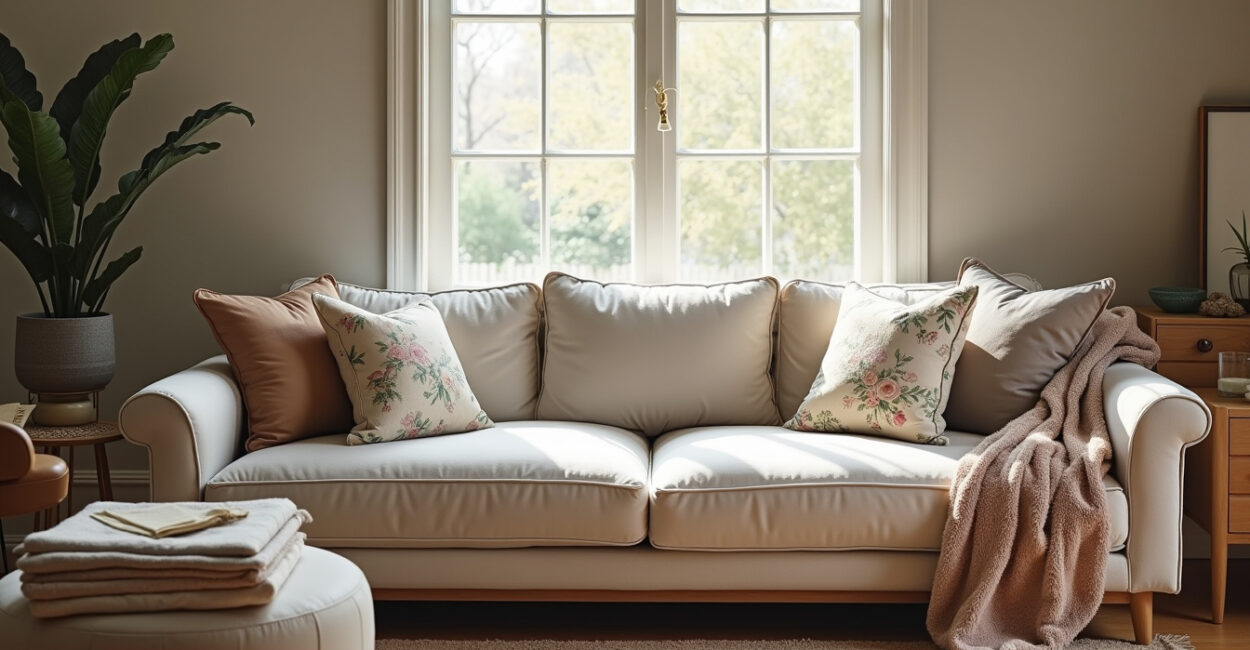
There is a small but important exception here: maximalist rooms can handle more visual variety, while minimalist rooms punish every extra detail. So the same upcycled piece may look elegant in a layered boho living room and out of place in a sparse modern office. That is not a failure of the project; it is a mismatch between object and environment.
If you want room-by-room inspiration from a trusted design source, Apartment Therapy’s decorating guides are useful for seeing how simple objects are styled in real homes, not just in product photos. The lesson is consistent: the context around the object matters as much as the object itself.
Materials, Tools, and Safety Without the Overkill
You do not need a workshop to start. Most beginner projects can be done with a small kit: sandpaper, painter’s tape, acrylic paint, primer, a foam brush, strong scissors, a hot glue gun, and a clear sealant. If you work with fabric, add a needle, thread, and fabric glue.
What to Buy First
| Item | Why it helps | Best use |
|---|---|---|
| 220-grit sandpaper | Removes gloss and smooths edges | Wood, metal, ceramic |
| Primer | Improves paint grip and coverage | Dark or glossy surfaces |
| Clear sealant | Protects the finish from wear | High-touch decor |
| Foam brush | Leaves fewer visible strokes | Small painted pieces |
Not every material is worth saving. Warped MDF, flaking particleboard, and cracked plastic can become frustrating fast because they absorb moisture or break under light use. Woodworker and preservation communities are very direct on this point: structure comes before style. If the base is failing, paint will not rescue it.
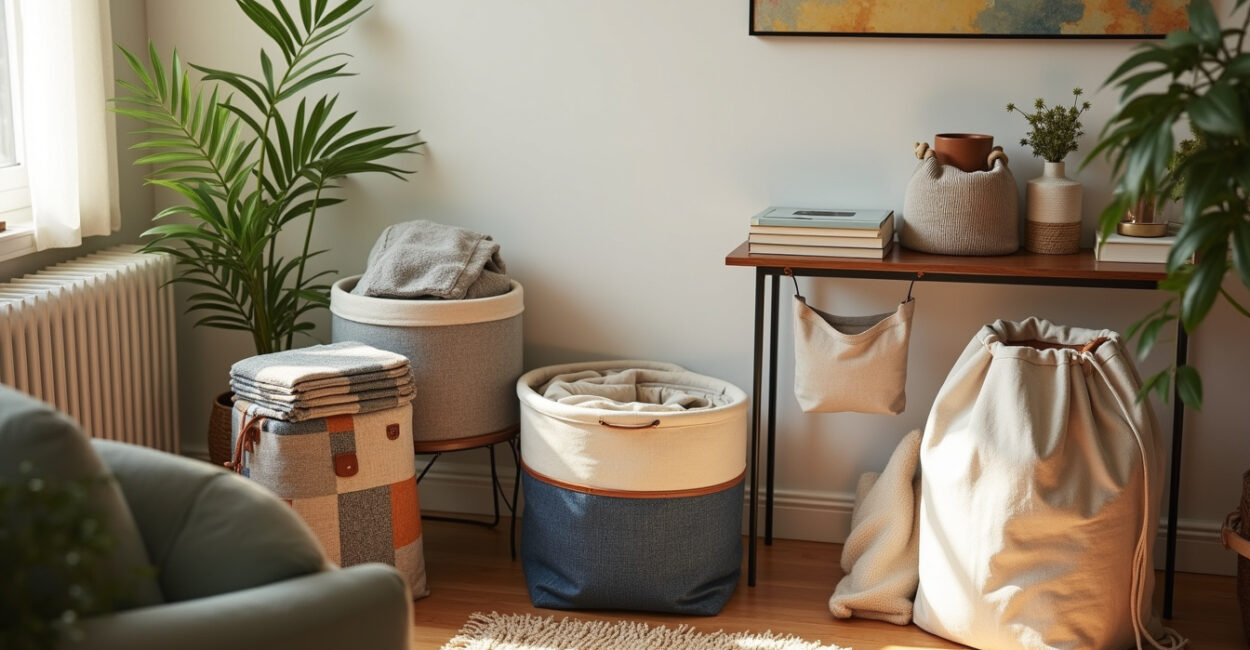
Where Upcycling Saves Money — And Where It Does Not
The money savings are real, but they are not automatic. Upcycling saves the most when you already own the base item or can thrift it cheaply, and when the project uses low-cost finishes instead of specialty hardware. Once you start buying multiple paints, adhesives, filler, and decorative parts, the total can climb quickly.
Best Savings Scenarios
- Small decorative items that need only a visual refresh.
- Furniture with good bones but outdated color or hardware.
- Room accents that would otherwise be overpriced as store-bought “decor.”
That said, upcycling is not always the cheapest route. If a piece needs major repair, replacement boards, or professional-level refinishing, buying new may be the better choice. The honest test is this: if the repair list is longer than the style list, stop and reassess.
Practical Planning for Your First Weekend Project
A good first project starts with a clear scope. Pick one room, one object type, and one finish. That limits decision fatigue and keeps you from bouncing between half-started ideas. The fastest wins usually come from decorating an entryway, shelf, side table, or bathroom counter because those spots are small but visible.
A Simple Planning Filter
- Choose an item you already own or can thrift cheaply.
- Decide whether the result should store, display, or soften the room.
- Pick one finish and one accent material.
- Set a two-hour work limit for the first attempt.
That two-hour cap is not arbitrary. It keeps the project from expanding into repairs you did not sign up for. Most beginner-friendly decorating wins come from restraint: one object, one transformation, one clear purpose. If you finish the piece and still like it the next day, you chose well.
Próximos passos
Pick one object from your home, thrift store, or donation pile and judge it by shape, not sentiment. If it has a stable structure and a clear new use, give it one clean transformation and stop there. The smartest upcycled decor is the piece you actually finish, place, and keep using.
Perguntas Frequentes
What is the Easiest Item to Upcycle for Home Decor?
Glass jars are usually the easiest starting point because they need very little prep and can become vases, candle holders, or storage containers. Picture frames are another strong option because you can turn them into memo boards or wall art without changing the structure. Beginners do best with items that already have a clear shape and do not require repair before decorating.
Do I Need Special Tools for Upcycled Decor Projects?
No, most beginner projects only need basic supplies such as sandpaper, paint, scissors, glue, and a sealant. A drill or saw becomes useful only when you move into shelving, hardware swaps, or structural changes. For the first few projects, keeping the tool list short is a strength, not a limitation, because it reduces mistakes and cost.
How Do I Make Thrifted Decor Look Expensive?
Stick to one or two finishes and remove anything that looks worn in an accidental way, such as chipped paint, weak hardware, or yellowed plastic. Matte paint, clean edges, and consistent color choices usually create a more polished result than adding extra decoration. The goal is not to hide that the item was thrifted; it is to make it look intentionally selected.
Which Materials Should Beginners Avoid?
Avoid warped particleboard, cracked plastic, and anything with a peeling laminate surface if you need a durable result. Those materials often fail under sanding, glue, or moisture. Older painted items also deserve extra caution because coatings may contain lead, which is why checking official safety guidance before refinishing is smart.
How Do I Know If an Upcycling Project is Worth the Effort?
If the object has good structure and the finish change is doing most of the work, it is probably worth the effort. If the list includes heavy repairs, multiple specialty products, and a lot of guesswork, the project may be too ambitious for a first attempt. The best beginner projects are the ones that improve the room without consuming your whole weekend.