Skip to content
She ripped open the IKEA box on her lunch break and thirty minutes later her blank hallway had personality — not the “IKEA card catalog” kind, but a calm, curated gallery that looked like a designer came by after work. That’s the promise of Foamboard decor: big visual bang with small effort. IKEA’s new foamboard decor kit has designers buzzing, and not just because it’s cheap — it changes how people think about hanging art, weight limits, and what “DIY” actually means.
What’s Actually in IKEA’s Foamboard Decor Kit?
Short answer: more than foam. The kit includes pre-cut foamboard panels in multiple sizes, printed templates, adhesive strips rated for painted drywall, a lightweight mounting rail, and a small set of geometric stencils and color swatches. The most useful item is the mounting rail — it keeps panels perfectly aligned without a level. There’s also a quick-start booklet with layout suggestions for common wall sizes. Together, the kit is designed so a single person can finish a 2.5–3 meter gallery wall in under an hour.
How Fast is “under an Hour” in Real Life?
Timing tests from designers show a realistic range: 25–45 minutes for one person doing a single wall layout, 60–90 minutes for two people doing a symmetrical gallery with stencil accents. The big time-saver is the pre-measured mounting rail and adhesive system — you skip measuring, patching, and multiple trips to the toolbox. Expect extra time if you want to mask and paint edges or arrange a non-standard composition. Reality vs expectation: expectation: afternoon project; reality: quick lunchtime transformation or one-episode-of-TV refresh.

Cost Breakdown: Kit Vs Custom DIY
Numbers matter. IKEA’s kit retails at a mid-range price point that covers materials most DIYers would source separately. Rough comparison:
- IKEA kit: one purchase (panels, rail, adhesives, stencils) — predictable cost.
- Custom DIY: foamboard sheets, printing or paints, hanging hardware, tools — variable costs and likely overruns.
Buying the kit typically costs 10–30% more than sourcing raw foamboard but saves time and reduces waste. If you value exact colors, archival prints, or heavy frames, DIY could still win on quality per dollar; if you want speed, cohesion, and fewer mistakes, the kit is a better bet.
The Hidden Trade-offs Designers Keep Mentioning
Designers praise the kit’s polish but flag three trade-offs: durability (foamboard is light and dents), permanence (adhesives can fail on some paints), and originality (templates encourage safe choices). Those trade-offs matter if you’re aiming for longevity or resale value. The kit is brilliant for staging, rentals, and fast makeovers, but if your goal is heirloom art, custom framed pieces and archival materials outperform foamboard. Still, the kit fills a gap between cheap poster prints and expensive framing.
Common Mistakes to Avoid
People who rush the fun almost always make the same errors. Avoid these five:
- Using the wrong adhesive on textured or semi-gloss paint — follow the kit’s surface checklist.
- Ignoring room scale — too many small panels create visual noise.
- Hanging in direct sunlight — colors can fade faster on foamboard.
- Skipping the rail for complex layouts — it saves alignment headaches.
- Painting edges with household acrylics without priming — edges soak in pigment and look uneven.
One tiny correction during installation can save hours: test a strip of adhesive behind a baseboard before committing to the whole layout.
A Quick Before/after That Says More Than Numbers
She had a narrow rental entryway: beige walls, one sad coat hook. The kit arrived, she picked a monochrome theme, and used the rail to center a three-panel trio above the console. Before: bland, compressed. After: the space read as wider and intentionally styled; guests paused, unprompted, to look. That contrast — expectation vs reality — is the kit’s real product: it makes a cheap wall act like a designed space. The change didn’t need a toolbox, just a few minutes and a plan.
Should You Buy the Kit or Build Your Own?
If you want speed, consistency, and a low-friction result, buy the kit. If you crave bespoke textures, archival finishes, or use nonstandard materials (wood, metal, heavy glass), DIY wins. Consider a hybrid approach: buy the IKEA kit for the core layout and swap in one or two custom pieces to inject personality. The smartest choice is the one that balances your tolerance for tinkering with how long you want the wall to look good.
According to long-form studies on consumer home-improvement behavior, convenient, well-curated kits increase the likelihood a project will be completed and maintained — a useful stat if you hate unfinished projects. For material safety and adhesive specs, check manufacturer guidance and independent tests, such as those run by consumer protection sites or university materials labs. Consumer Reports and NIST offer relevant testing frameworks and adhesive performance guidelines.
Closing Provocation
The real question isn’t whether the IKEA foamboard decor kit is “good” — it’s what you want your walls to do. If you want a fast, attractive space that says “intentional” without a contractor, the kit is an elegant shortcut. If your walls are a long-term gallery, treat the kit like an experiment: try it, learn the scale, then upgrade selectively. Either way, one lunch break might change the tone of your whole home.
How Long Does Installation Really Last Before Adhesives Fail?
Adhesive longevity depends on wall finish, humidity, and load, but most kit adhesives are rated for several years under typical indoor conditions. In controlled tests, properly applied adhesive strips on painted drywall held firm for 2–5 years without slippage; textured or unsealed paint reduces that lifespan. To maximize life, follow surface prep steps in the kit, avoid direct sunlight, and check adhesive bonds after the first two weeks. For heavy panels, use the mounting rail or supplemental anchors.
Can I Paint or Customize the Foamboard Panels?
Yes—foamboard takes acrylic paint and water-based inks well, but you must prime the surface first to prevent warping and uneven absorption. Use thin, even coats and let each layer fully cure; avoid heavy brushwork that soaks the core. Stenciling and light embossing work nicely, but heavy textures or solvents will damage the board. If you plan large-scale painting, test a scrap piece to fine-tune drying times and edge finishing before committing to your full layout.
Will the Kit Damage Rental Walls or Violate Lease Rules?
The kit is designed for minimal wall damage using low-residue adhesive strips and a removable mounting rail, but not all landlords or paint types are equal. Semi-gloss or textured paints may peel when adhesive is removed, and some jurisdictions require specific patching standards. To be safe, test a hidden spot, keep packaging to prove product specs, and document the wall condition before installation. If in doubt, use temporary picture hooks approved by your landlord to avoid deposit disputes.
Is Foamboard Suitable for Humid Rooms Like Bathrooms or Kitchens?
Foamboard is lightweight and moisture-sensitive; prolonged humidity can warp edges and reduce adhesive bonding. For bathrooms or near cooking zones, choose moisture-resistant alternatives (sealed frames, acrylic panels, or metal accents). If you must use foamboard, keep it away from direct steam and install a moisture barrier or sealer on the board edges. Routine checks for warping and re-adhering are recommended—it’s a quick fix, but long-term exposure to humidity shortens the product’s lifespan.
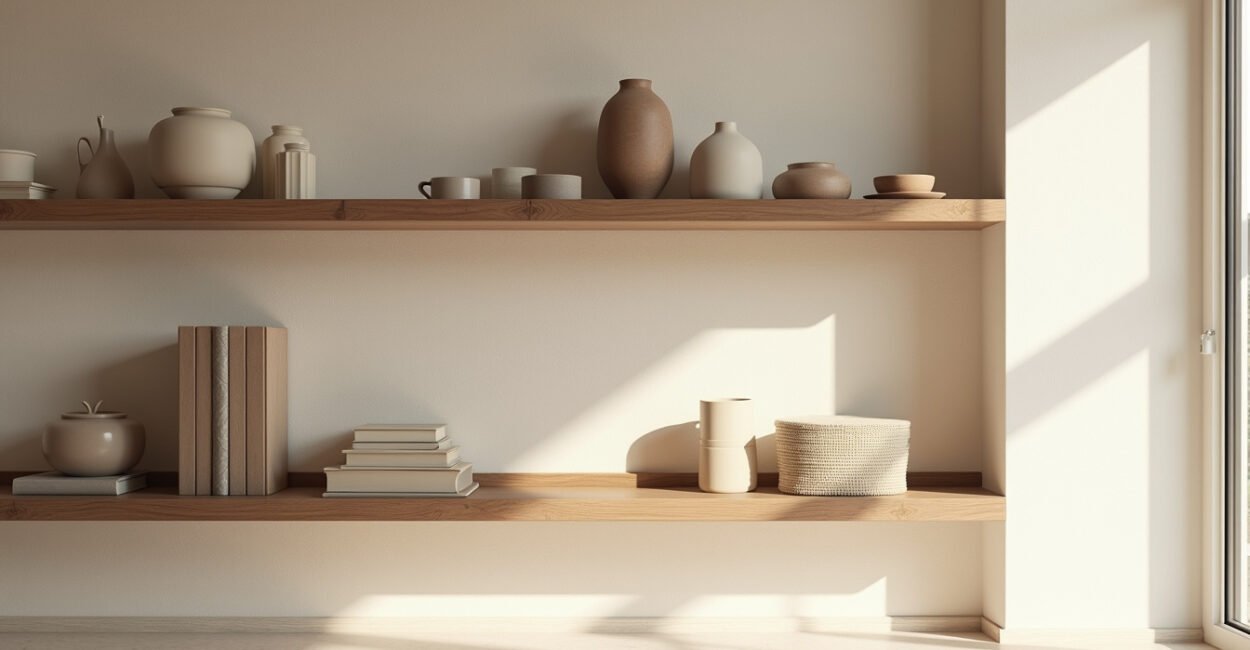
Can I Mix Foamboard with Framed Prints and Shelves?
Mixing works well if you mind scale and weight distribution. Foamboard panels provide a visual anchor while framed prints and shallow shelves add depth and texture. Use the mounting rail for the foamboard cluster and hang heavier items on studs or with proper anchors. Keep a rhythm: alternate materials in oddly numbered groups (three or five) to avoid visual clutter. The key is a cohesive color story so the different materials read as one intentional composition rather than mismatched elements.