Skip to content
The wall texture trend has exploded across feeds: foam stamps, stucco-like paints, and DIY kits promising a designer look for under $100. Right away: some methods genuinely transform a room; others leave you with a lumpy wall and buyer’s remorse. If you want the impact without the headache, read this verdict—where foam textures succeed, the common pitfalls to avoid, and how to get a polished result fast.
Why a Textured Wall Can Change a Room for Less Than a Sofa
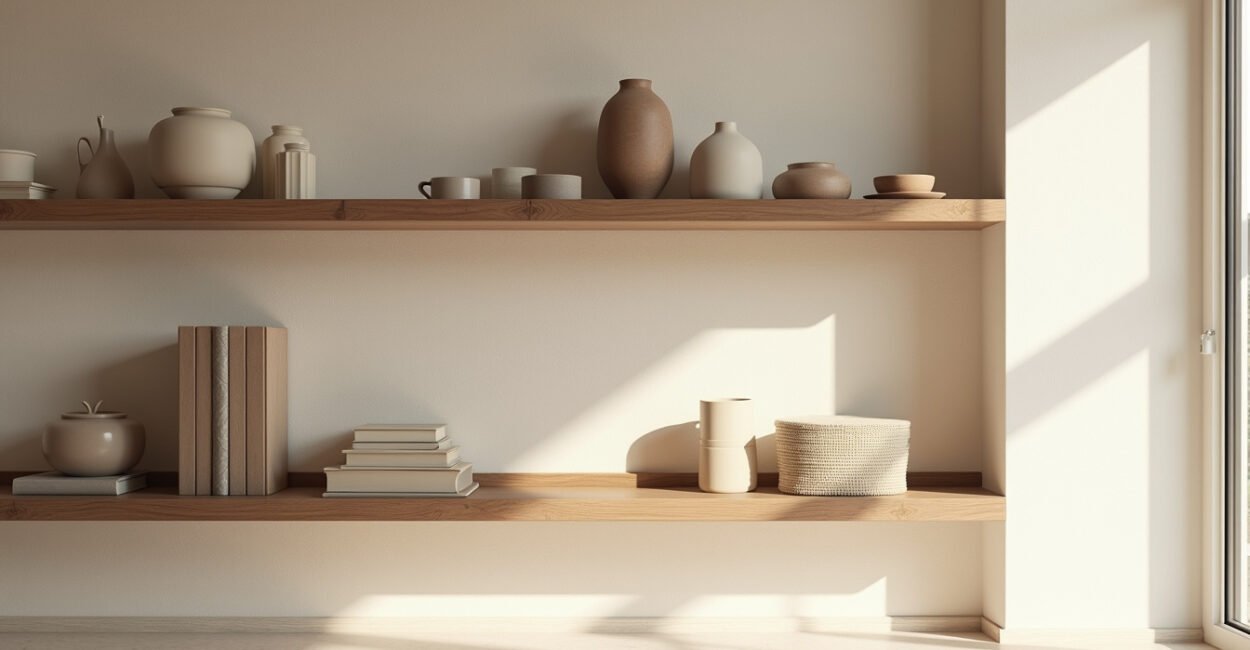
Texture amplifies light and hides flaws in ways paint alone can’t. A single textured accent wall can create depth, mask minor drywall imperfections, and make modest spaces feel curated. Unlike replacing furniture or installing millwork, a texture treatment costs mostly time and materials: texture compound, a tool (foam stamp, trowel, or roller), and paint. According to industry rental data and trade forums, budget kits often run well under $200, delivering a higher-perceived-value change than many low-cost decor swaps. Still, cost isn’t the only story—finish matters.
The Mechanism Nobody Explains: How Foam Textures Actually Read in a Room
What looks like “just patterns” is really a play of micro-shadows and reflectance. Foam stamps indent or raise the compound, creating edges that catch light differently through the day. This is why small texture differences feel dramatic: they change how your eye reads the entire wall. In a south-facing room, a delicate pattern will emphasize sun tracks; in a north-facing room, a bolder relief adds warmth. Consider glossy versus matte paints too—gloss exaggerates imperfections; matte softens them.

Expectation Vs. Reality: The Surprising Comparison That Saves Time
Expectation: DIY foam stamp = instant designer wall. Reality: the first attempt often looks uneven up close. Compare before/after photos of quick foam jobs and pro trowel finishes to see the gap. The good news: the gap narrows fast if you master three steps—substrate prep, uniform compound thickness, and consistent stamping rhythm. A simple checklist before you start prevents most fails and yields results that, at a glance, match pricier services.
Where Foam Textures Genuinely Succeed (and Where They Don’t)
Foam tools shine on feature walls, small rooms, and rental-friendly updates. They’re fast, low-dust, and removable with relative ease if applied thinly. But they struggle on large surfaces, uneven drywall, and high-traffic areas where scuffs reveal texture. Use foam when you want a focal point—behind a bed, in a powder room, or an entryway. For full-room installations, consider professional skim-coat work or venetian plaster for durability and consistency.
Common Mistakes That Turn a Viral Project Into Regret (and How to Avoid Them)
People love to share fails because they’re avoidable. Here’s what trips most DIYers:
- Skipping surface prep—old paint, dust, and nail pops telegraph through texture.
- Using inconsistent compound thickness—leads to patchy patterns.
- Rushing drying times—smudging and sinking occur when stamps hit tacky compound.
- Poor paint choice—high gloss exaggerates; wrong tint reads cheap.
Fix these and you’ll avoid the three most common regrets: visible seams, inconsistent pattern depth, and a finish that feels amateur.
A Short, Real-world Mini-story: One Afternoon That Taught Everything
She bought a $25 foam kit, two quarts of paint, and started at noon. By 3 p.m. the living room looked “Instagram-ready” from the sofa—until guests walked up and touched the wall; fingerprints showed on the unsealed texture and a seam revealed where she’d rushed. She sanded edges the next day, applied a skim coat, and re-stamped with slower, measured strokes. What cost an extra afternoon delivered a finish that lasted. The point: pace beats shortcuts every time.
Quick, Practical Plan to Get a Polished Textured Wall in a Weekend
Follow these three actionable phases: prep, apply, protect. Prep: clean, fill, and prime; apply: thin, even compound and a consistent stamping cadence; protect: sand light high spots, prime, and use a quality matte or eggshell topcoat. A small table of tools helps:
| Task | Tools/Materials |
|---|---|
| Prep | Spackle, sandpaper, primer |
| Apply | Texture compound, foam stamp/trowel, hawk |
| Finish | Fine sand, primer, topcoat paint |
If you want deeper guidance, the U.S. Department of Housing and Urban Development has resources on safe renovation practices and paint safety, and many university extension programs publish step guides for plaster and skim coats—both useful for avoiding health and structural mistakes while you DIY.
When to Call a Pro (and What to Ask Them)
Call a pro if the wall has water damage, large cracks, or if you want a durable, full-room finish. Ask about their substrate preparation, whether they use fiber-reinforced skim coats, and to see close-up photos of recent jobs. Request a touch-up policy—texture jobs are visual, and small differences matter. A legitimate pro will explain trade-offs openly: speed vs. longevity, thin skim for reversibility vs. thicker coats for permanence.
How Long Does a Foam Textured Wall Last Before Needing Repair?
A properly applied foam texture with a quality topcoat can hold up for several years in low-traffic areas; expect wear sooner in hallways or near furniture. Longevity depends on substrate prep, compound quality, and finish—thin applications are easier to remove but more prone to dings. In damp environments, moisture can break down texture faster, so ventilation and primer are crucial. Regular dusting and gentle cleaning extend life, and minor chips are usually fixable with spot skim and repainting.
Can I Paint over an Old Texture Without Removing It?
Yes—often you can paint over existing texture if the surface is sound and well-adhered. Clean, sand glossy spots, fill deep voids, and prime with a bonding primer. However, painting over a heavily damaged or uneven texture only emphasizes flaws. If you want a smooth look, apply a skim coat or roll on a leveling compound before priming. For health and safety, check for old lead paint in homes built before 1978 and follow EPA guidance when renovating.
Is Foam Stamping Suitable for Renters?
Foam stamping can be renter-friendly when done lightly: thin compound layers are easier to remove or repaint later. Choose removable-friendly topcoats and avoid permanent skim coats that bond strongly to drywall. Always confirm landlord rules and, if required, use removable wallpaper or temporary panels for a similar textured effect without altering the wall. Document the original wall state and keep materials for restoration—this reduces disputes at move-out and preserves deposit eligibility.
How Do I Pick the Right Paint Sheen for Textured Walls?
Matte or eggshell finishes are usually best for textured walls because they diffuse light and hide imperfections; semi-gloss or gloss highlights every ridge and can look cheap if the texture is imperfect. For high-traffic areas that require wipeability, eggshell strikes a balance between durability and visual softness. Test a small patch in the room’s natural light before committing—sheen changes perception more than color, and a test patch reveals whether texture reads as intended.
What Are Affordable Alternatives If Texture Feels Risky?
If texture seems risky, consider alternatives that still add depth: peel-and-stick accent panels, beadboard, wallpaper with a subtle raised pattern, or a two-tone paint technique like a soft ombré. These options are quicker to reverse and offer designer impact without committing to material changes. For rental-safe approaches, use adhesive panels or temporary wallpaper; for permanent but low-risk upgrades, install moulding or a chair rail and paint contrasting colors to emulate layered texture.