Skip to content
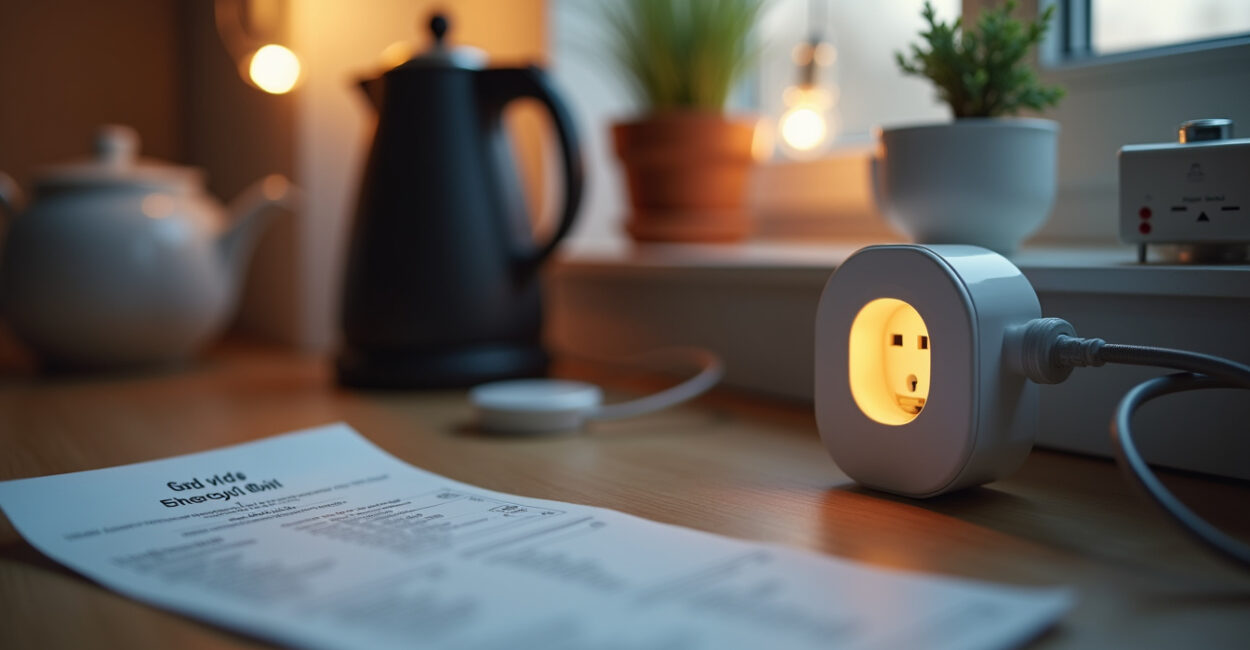
Three days after I clipped the last sensor onto the main breaker, my phone buzzed with a live chart that made my jaw drop: the living room heater was a stealth-money drain every night from 10–11 PM. That moment — messy, electric, and oddly satisfying — is exactly why this setup guide matters. If you want real-time energy visibility that leads to real savings within a month, this is the hands-on walkthrough that gets you from unboxing to actionable insights without the fluff.
Why This Setup Guide Gets You Savings Fast
Most people waste two weeks fiddling with hardware and another month staring at noisy data. The goal here is different: install confidently, pair the app right, and calibrate a baseline so the system tells you what matters on day one. Expect to see actionable alerts (high-use devices, phantom loads) and a prioritized list of changes — not just kilowatt-hours. You’ll move from curiosity to control in days because the steps are sequenced to remove guesswork.
Choosing the Hardware That Won’t Annoy You
Pick reliability over cheap bells. For whole-home monitoring, split-core CT clamps that fit your service size and a gateway with Wi‑Fi plus optional Ethernet are non-negotiable. If you live in an older home, choose clamps with wider jaws and a gateway that supports higher sample rates. Bad hardware is noise; good hardware is a steady heartbeat — clean data that actually maps to behavior. Compare specs: sample rate, clamp accuracy, and API access. A quick table helps if you need side-by-side clarity.

The Pairing Ritual: App, Gateway, and Sensors
Pairing shouldn’t feel like a treasure hunt. Start by placing the gateway near your router, power it, then follow the app’s step to add the gateway before any sensor. For CT clamps, attach them to the live conductor only (not the neutral) and keep cables tidy. One failed pairing step usually means the order was wrong or the gateway is too far from Wi‑Fi. If the app shows zero readings, check clamp orientation, app permissions, and firmware updates — in that order.
Baseline Calibration: The Step That Separates Noise from Insight
Calibration is where the system learns your house. Spend 48–72 hours with normal routines, mark periods of known use (cooking, laundry, HVAC cycles), and let the software create a baseline. Then run a forced test: turn off the house breaker for one minute and confirm the monitor reads near zero. Calibration turns raw watts into meaningful deviation alerts — without it, you’ll get false positives and ignore good recommendations.

Comparison That Shocks: Before Vs After Real-time Feedback
Expectation: you’ll tweak a few habits and save pennies monthly. Reality: when you can see device-level spikes, small changes compound fast. For example, shifting a 1,200W space heater from 6 hours to 3 hours daily cuts monthly consumption by roughly 180 kWh — that’s a tangible bill drop. The visual difference is striking: a noisy, flat graph becomes a clear profile with peaks you can target. Seeing is deciding; seeing the numbers makes action inevitable.
Common Mistakes to Avoid (so You Don’t Waste a Week)
- Installing clamps on the wrong conductor — causes inverted or zero readings.
- Skipping firmware and app updates — misses bug fixes and features.
- Calibrating during an unusual period (vacation, contractors) — creates a bad baseline.
- Poor gateway placement — weak Wi‑Fi leads to data gaps and frustration.
- Ignoring data privacy settings — check who can access your energy API.
Don’t let these simple errors erode confidence. Fix them early and the system becomes a trustworthy companion, not a nuisance.
Tips to Start Saving Within the First Month
Act fast on the low-effort, high-impact items the monitor highlights: schedule heating/cooling setbacks, set alerts for long phantom loads, and shift heavy tasks (dishwasher, EV charging) to off-peak windows. Use the app’s trend view to create a 7‑day checklist: night setback, appliance run-time limit, and an evening “is anything on?” walk-through. Pair those habits with a single hardware change — a smart plug on the worst offender — and you’ll likely see measurable savings by the end of week four.
For technical validation and energy-saving recommendations, consider official resources like the U.S. Department of Energy’s guides on home energy audits and smart meters and peer-reviewed studies from universities that analyze residential load-disaggregation accuracy. According to U.S. Department of Energy, small behavioral and efficiency changes compound noticeably. For accuracy standards and measurement methods, the National Renewable Energy Laboratory publishes useful protocols and performance data.
Ready for a small experiment that pays off? Install the system, pick one glaring peak, and flip your behavior for seven days. If the graph responds, the savings will follow — and you’ll stop wondering where the power (and money) went.
How Long Does It Take to Install a Typical Real-time Energy Monitor?
Installation time depends on your confidence and the complexity of your panel, but most DIY installs take between 30 minutes and 2 hours. Simple installs—gateway near the router, two CT clamps on a single-subpanel—are under an hour. Whole-home installs with multiple clamps, grounding checks, and careful cable management take longer. Allow extra time for firmware updates, app pairing, and the essential 48–72 hour baseline period; rushing the setup often creates data issues that cost more time later.
Will the System Show Individual Appliance Usage or Just Whole-home Data?
That depends on the system and whether it supports device-level disaggregation. Basic setups with clamp sensors around the main feed give whole-home data and high/low events. More advanced systems use high-sample-rate sensors, additional line-level clamps, and machine learning to infer individual appliances. Accuracy varies: large loads (HVAC, EV chargers, water heaters) are easy to spot, while small intermittent devices can be missed. Combining smart plugs for key appliances improves visibility significantly.
Is It Safe to Install CT Clamps Myself, or Should I Hire an Electrician?
CT clamps are designed for clamp-on, live-wire installation, and many homeowners can install them safely if they follow instructions, switch off circuits appropriately, and avoid working near exposed terminals. However, if your panel is crowded, you’re unsure which conductors are live, or local code requires a licensed electrician for any work inside the panel, hire a pro. Electrical safety matters: a one-time service call can prevent hazards and ensure clamps are placed correctly for accurate data.
How Do I Know the Baseline Calibration is Accurate?
Calibration accuracy shows up as predictable readings during known states. After the 48–72 hour learn period, do a simple validation: turn off the main breaker for a minute and confirm the monitor reads near zero; run a single known load (like a 1,500W space heater) and see if the wattage jump matches expected values. Re-check during different times of day. If the system consistently under- or over-reports, revisit clamp orientation, app settings, and any firmware updates before trusting automated recommendations.
What Privacy Concerns Should I Consider with Real-time Energy Monitoring?
Real-time energy data can reveal occupancy patterns, appliance usage, and behavior. Check the vendor’s privacy policy for data retention, third-party sharing, and whether the platform offers local-only storage or cloud export controls. Use strong account passwords, enable two-factor authentication, and restrict API access if available. If you integrate with third-party services or utilities, review permission scopes. Treat energy data like any sensitive telemetry: minimize sharing and prefer vendors with clear data-handling practices and encryption in transit.